Our Campervan Ceiling and Floor Installation Adventure
Transforming our campervans interior was like piecing together a giant jigsaw puzzle. Our latest challenge? Installing the ceiling and floor. Here’s a peek into our journey:
The Vision
We envisioned a ceiling and floor that not only looked great but also added to the functionality and comfort of our campervan. The goal was to create a space that felt cozy and homey, no matter where our travels took us.
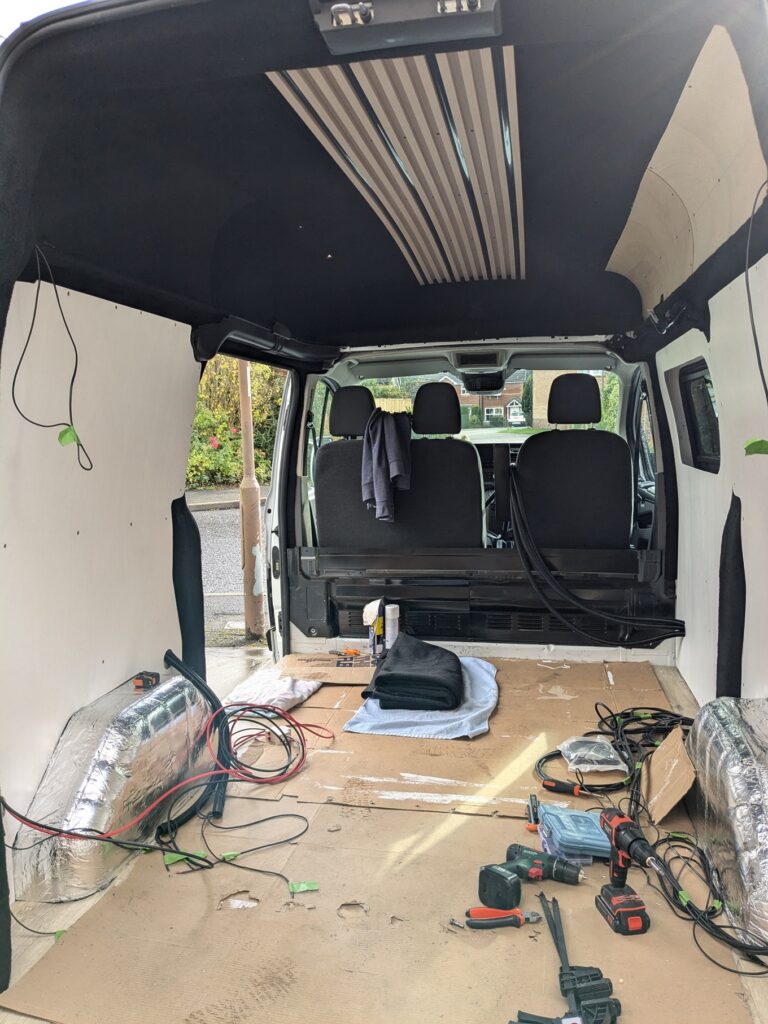
Gathering Supplies
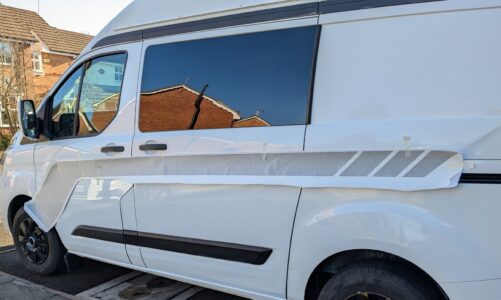
We started by gathering all the necessary materials. For the ceiling, we chose lightweight wood panels that would give the van a rustic yet modern feel. For the floor, we opted for durable vinyl planks that could withstand the wear and tear of van life. Of course, we also needed insulation, adhesive, and a variety of tools to bring our vision to life.
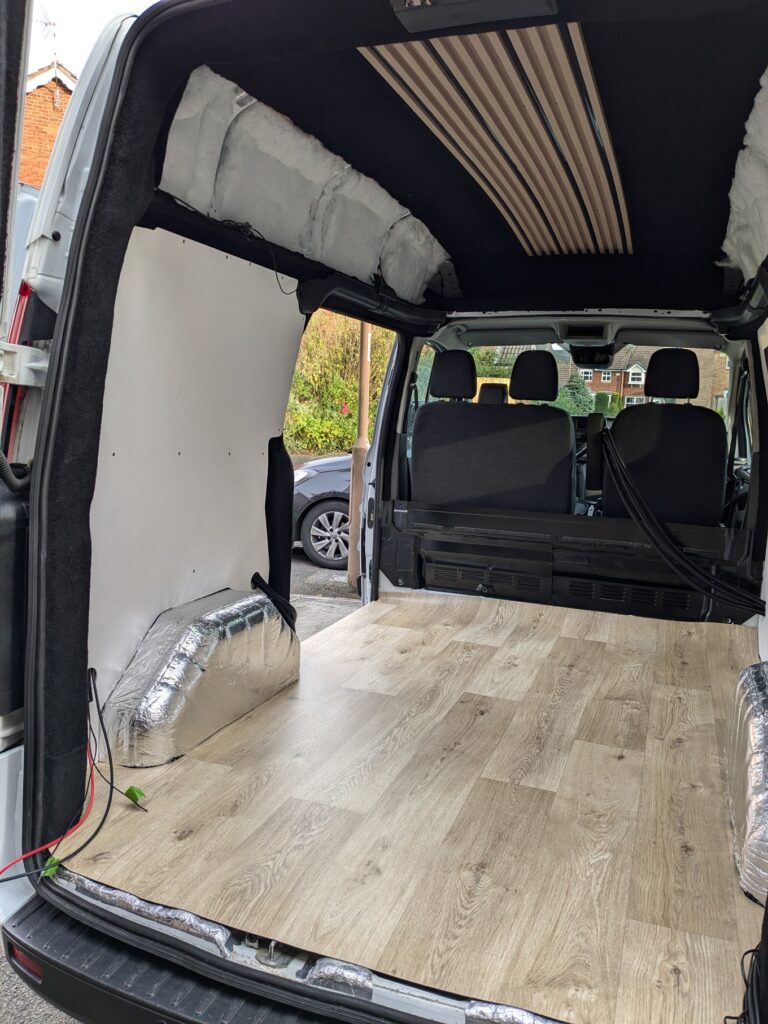
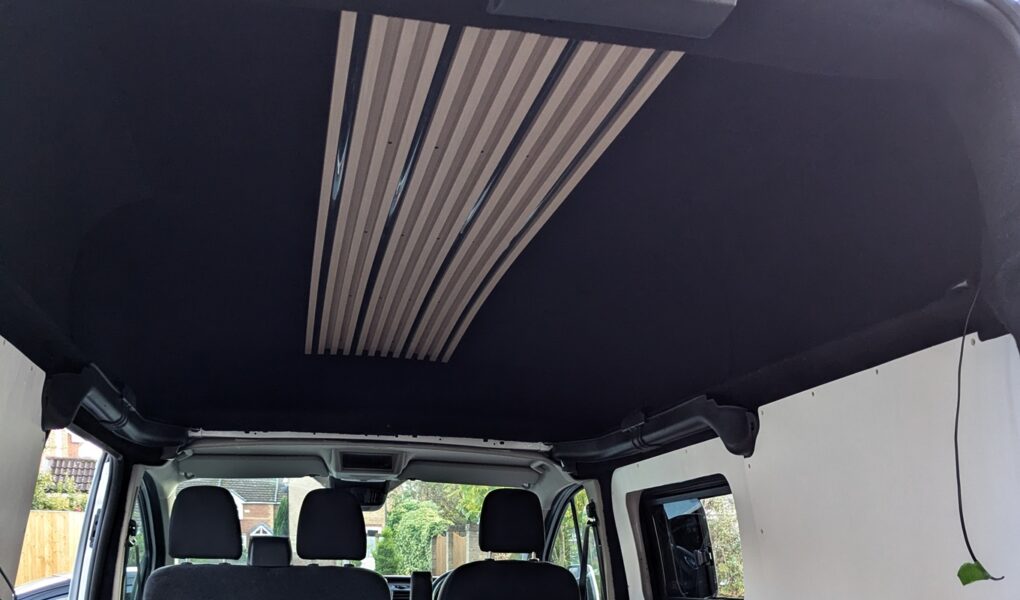
Installing the Ceiling
The ceiling was up first. We began by measuring and cutting the wood panels to fit the ceiling space. This required some precise cutting and a lot of patience. Once the panels were ready, we secured them in place using adhesive and small screws. The result was a beautiful, natural wood finish that instantly made the van feel more like home.
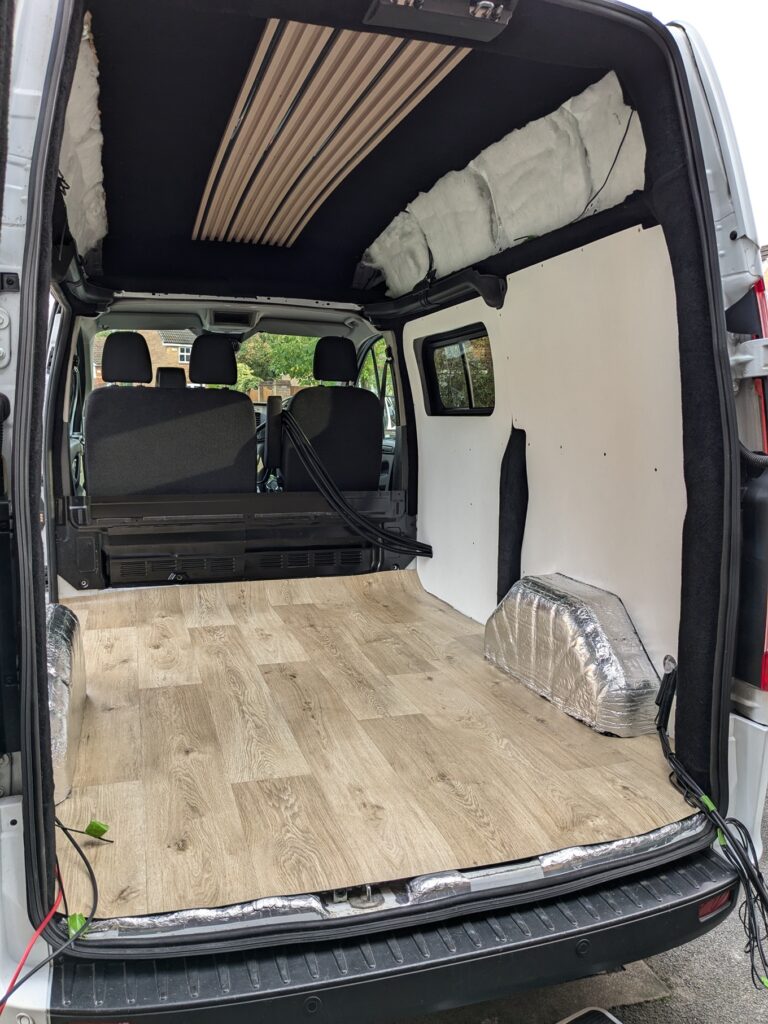
Laying the Floor
With the ceiling in place, it was time to tackle the floor. We started by installing a layer of insulation and plywood as the subfloor, creating a sturdy base for our precut vinyl floor. Fitting the vinyl was like assembling a giant, life-sized jigsaw puzzle. The vinyl not only looked fantastic but was also easy to clean—perfect for life on the road.
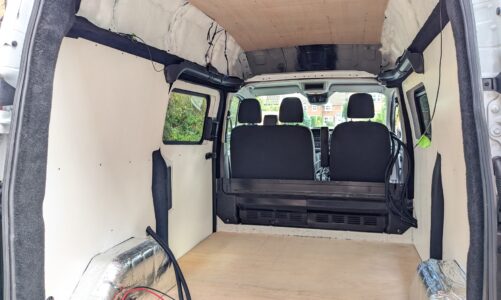
The Finishing Touches
With the ceiling and floor installed, our campervan transformation was almost complete. We added trim around the edges to give everything a polished look. Finally, we stood back and admired our work. The ceiling’s warm wood tones and the floor’s sleek finish created a beautiful, cohesive space that felt just right.